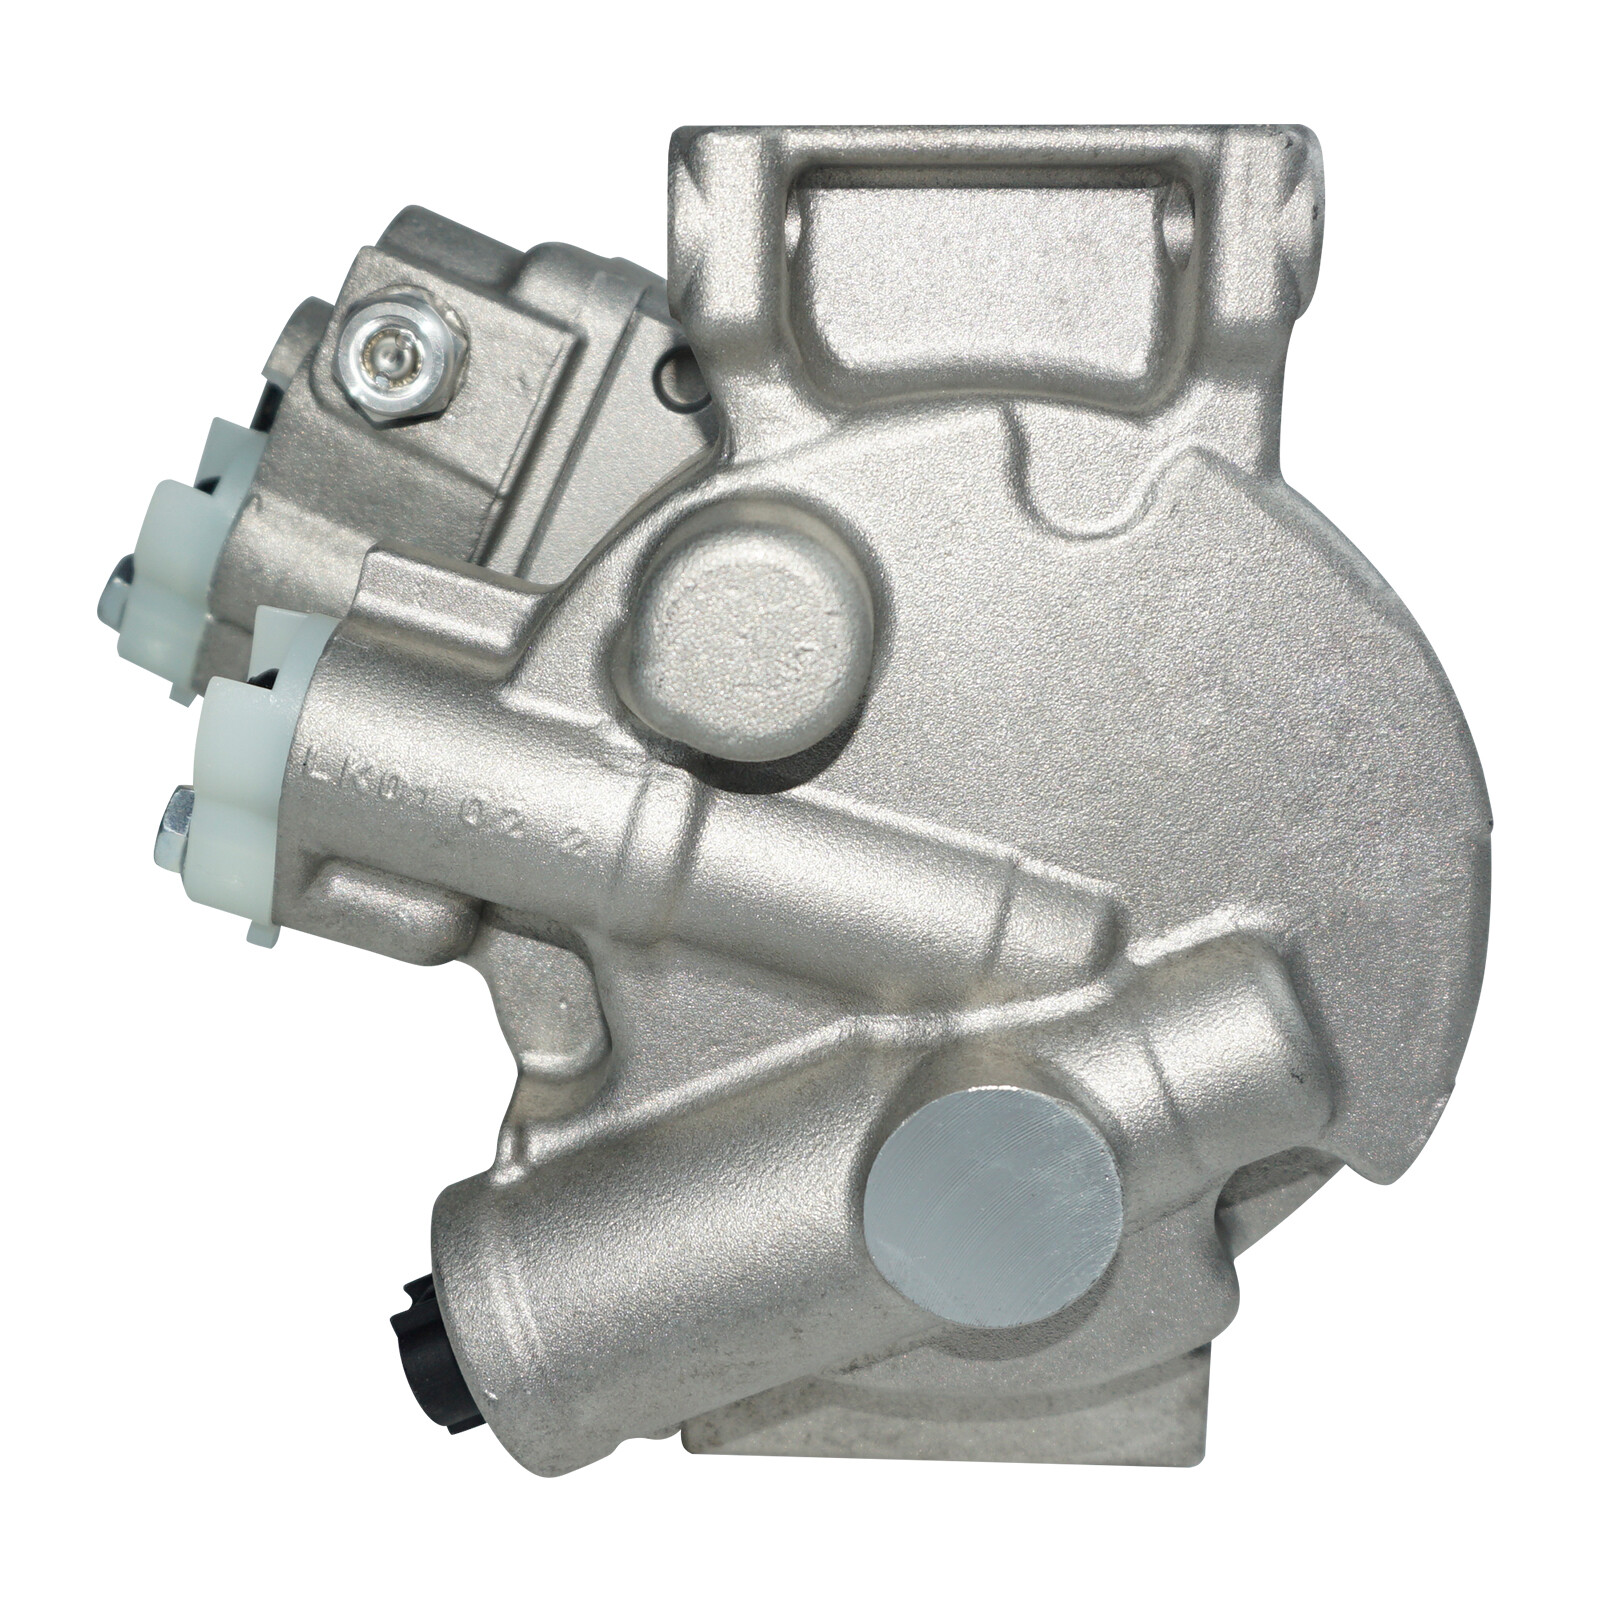
A/c Air Compressor
& Cluth Replacement For 2011-2014 Toyota Corolla 1.8l
USD $199.99
Condition : New
Free Shipping
{{variant_type_name}} :

Notify me when the price drops
We will email you if we find a lower price on this product!
Description: 1.Check our product description to make sure our compressor fit your vehicle,The Compatibility Is Just For Reference. Please Compare With Your Original One Before Purchasing! 2.Fit for 2011-2013 Toyota Corolla 1.8L ,2011-2013 Toyota Matrix 1.8L,Does not fit the 2.4L XRS models. 3.OEM Part Number 447260-3373, 447280-9060, 447150-2111, 447150-4840, 471-1023, 178322, 88310-02710, 88310-02711, CG447260-3373 4.Materials are matching the same requirements as OE products. Only high-quality materials,Utilizes the latest design and material technology,All Items Tested for Reliability, Durability and Performance 5.Service & Warranty: 1 year limited warranty. Any problem, we will resolve in 24h (refund/ replace/ offer technical support) Precautions before installation: 1、Confirm whether the part is suitable for your vehicle, please enter the year, make and model of your vehicle in the compatibility table 2、Please make sure to clean the air conditioning system before installation, otherwise it will cause compression damage 3、Refrigerant does not need to be topped up, too much refrigerant may make noise (the A/C system label under the hood has the correct amount and type of refrigerant) 4、It is recommended to install under the guidance of professionals as well as professional equipment to avoid compressor damage due to incorrect operation Compressor Removal: 1. Remove the A/C belt from the A/C compressor pulley first (this may require loosening the belt tensioner) 2. Use a refrigerant recovery machine to evacuate the air conditioning system 3. Disconnect the negative cable from the battery 4. Remove the fixing bolts on the coolant line and compressor, and check whether there are any impurities in the air conditioning pipe 5. Disconnect any electrical connectors on the air conditioning compressor, remove the air conditioning connectors, remove the mounting bolts on the air conditioning compressor, and remove the compressor Compressor Installation: 1. Remove the receiver/dryer or accumulator, and the expansion valve or orifice tube. 2. Evaporator flush: Remove the valve on the expansion valve system and flush the condenser from outlet to inlet and the evaporator from inlet to outlet (use a non-oily air conditioning flushing agent to flush the condenser and evaporator) 3. The compressor is already preloaded with the correct oil, no need to add additional oil. 4. Install a new dryer or accumulator and new air conditioner tubing or expansion valve 5. Install and tighten the new air conditioning compressor 6. Connect all electrical connectors of the compressor, reinstall the refrigerant line and air conditioning belt to the air conditioning compressor, connect the negative battery cable 6. Evacuate the car's air conditioning system for at least one hour 7. Pay attention to check the type of refrigerant used in the car, start loading the applicable refrigerant, turn on the air conditioning AC switch for two minutes to allow the refrigerant and oil to spread evenly throughout the air conditioning system (if you do not know the correct amount and type of refrigerant in the system, check the A/C system label under the hood of the car) 8 Check for refrigerant leakage 9. Apply air-conditioning pressure gauge Verify that the high and low pressures of the refrigerant in the air-conditioning tubes are within the standard range, and add refrigerant or pump out refrigerant 10. Start the engine of the vehicle, turn on the air conditioning system and check if the cold air is coming out of the air ducts. 11. If everything is normal, the whole compressor installation is completed Warranty: If our product does not work properly for you and you want to exchange another one or get a refund, please confirm with our customer service first and list the product detailed problems. We keep our promises that we will provide you with the best solution within 24 hours
Returns Accepted for this item if it's within 14 Days
Price type
IN STOCK
OUT STOCK

 .
.